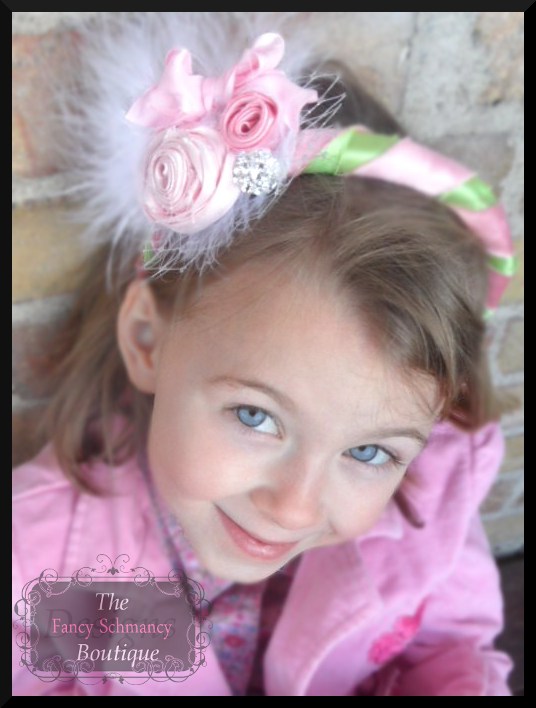
So sweet, huh?! Funny Gal Photography sure does a beautimus job! Thanks Stephanie!!
As promised, here it is; A Fancy Schmancy tutorial for a padded ruffle bow! Super cute and easy peasy….
Materials:
Felt or Fleece (See tutorial for amounts. I love the soft look of fleece!)
Fabric of your choice (I love these with textured fabrics such as ruffle or minky fabrics but most any fabric that is not sheer will work! I purchase the miniature ruffle fabric from a company called Ruffle Fabric. Imagine that! :))
Hot Glue (or quick dry fabric glue)
Coordinating Thread
Tools:
Scissors
Ruler
Glue Gun (not needed if you use quick dry fabric glue)
Needle
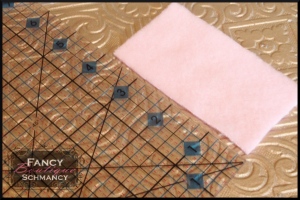
Start by deciding how large you would like your bow. Cut your felt or fleece the size you would like your bow. The bow for this tutorial is 2″ X 4″:
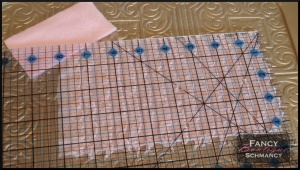
Next, take your fabric & double the width & length of your fleece or felt. Since my fleece is 2″ X 4″, I want my material to be 4″ X 8″:
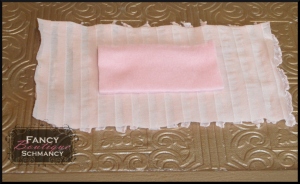
Turn your fabric face down and place your fleece/ felt in the center:
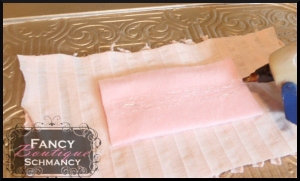
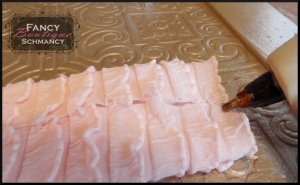
Next, put a wide strip of hot glue or quick dry fabric glue along the width in the center of the felt/ fleece:
You may want to wait a few seconds for the glue to cool a bit. Fold fabric to the center of the glue and press:
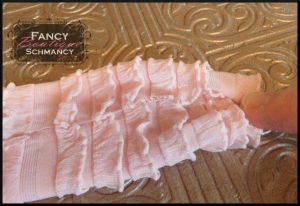
(Figures 6-7 are only if you are using ruffle fabric. If you are using any other kind of fabric you can skip to figure 8.)
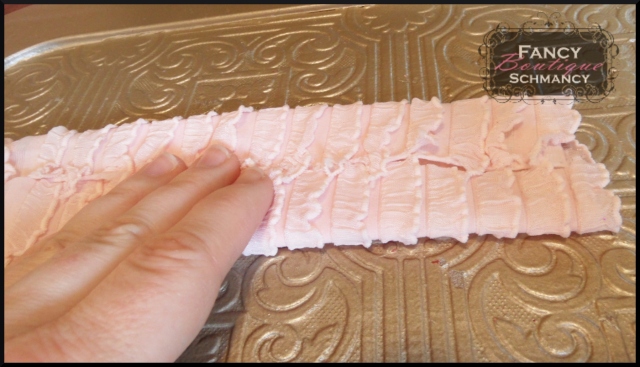
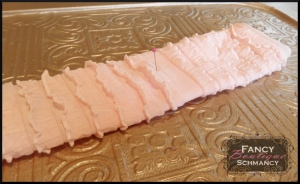
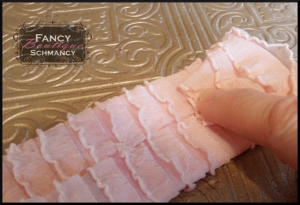
Turn your fabric over so it is facing up. Mark the center of the felt/ fleece with a stick pin. Smooth ruffles outward from the center:
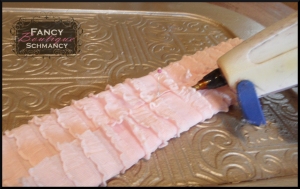
Turn your fabric over so the seam is showing and place small dabs of glue under the ruffles to secure them:
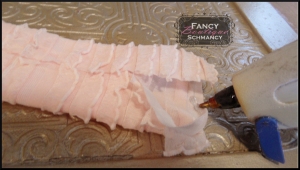
Glue one end so it stays closed:
Press and then place a small strip of glue directly above the place that is glued:
Fold the corners in towards the glue and press:
Fold this over toward the center and glue it down:
Repeat Figures 8-11 for the other side:
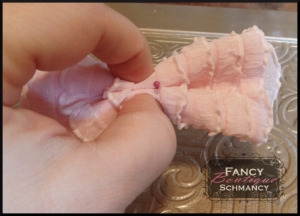
Thread your needle and knot the end of your string. Turn your bow over and again mark the center with a pin. Fold your bow like a fan from the center:
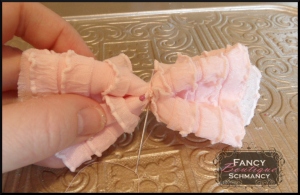
Put your needle through the center very near the pin. Take the pin out. Pull your thread until the knot grabs then wrap your string tightly around the center. Again stick the needle through the fabric in the center and tie it off:
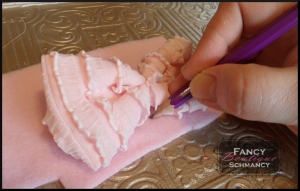
Take a scrap piece of fleece and trace the center of your bow on both sides:
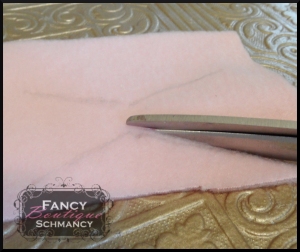
Cut inside the lines: (This piece of felt/ fleece just needs to cover your raw ends and make the under side look neet. It does not need to cover the entire length of your bow.)
Glue your felt/ fleece on the back of your bow making certain that any raw ends are tucked under the felt/ fleece:
The front veiw should be super charming:
Wrap some ribbon around the center and attach an alligator clip, metal headband, bra strap or some Fold Over Elastic & you’re done! I like to make 2 layered ones that have a slightly larger bottom then top.
Did you know that Fancy Schmancy offers other tutorials on Etsy and at The Fancy Schmancy Boutique?
Right now you can learn to make a Pouting Princess:
….And the Jessica Flower and/ or the wrapped headband….
& more to come!!
Thanks so much for stopping by! I can’t wait to see some of your creations!
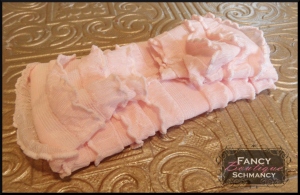
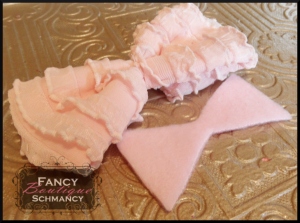
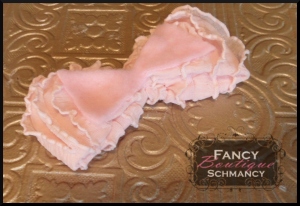
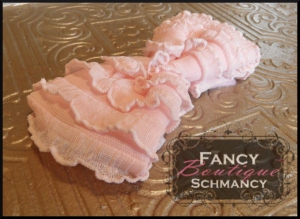
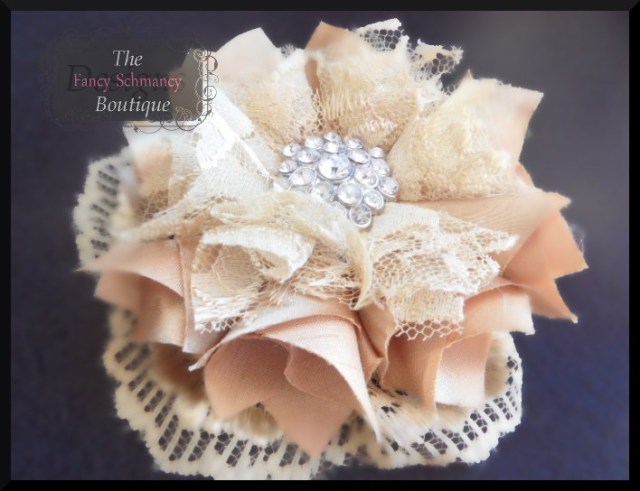
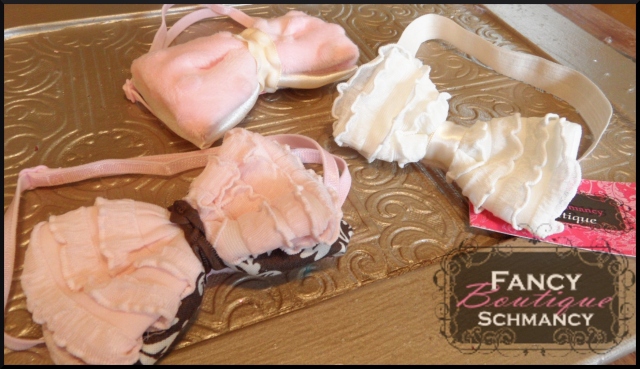
I’ll leave you with a few samples of some completed padded bows:




Oh, I love this!!! What a great tutorial, thanks for this!!!
http://www.iheartmygluegun.com
Thanks so much for your sweet comment Janet! I am very impressed with your work as well!! Have a great day!!
I featured this on the Glitter Friday Spotlight!
http://runwithglitter.blogspot.com/2011/05/glitters-friday-spotlight-5-13-11.html
xoxo
Kelly
Thanks so much, Kelly! Love your blog! What an honor!